Running cloud infrastructure that can’t keep up with your growth isn’t just frustrating — it’s expensive. Kubernetes has become the industry-standard container orchestration platform, powering everything from fast-moving startups to Fortune 500 workloads. But knowing how to set it up correctly, and which approach fits your business, is where most teams get stuck. Primary setup methods include managed services like GKE, EKS, and AKS for enterprises, self-managed clusters using kubeadm for teams that need full control, and lightweight environments like Minikube for learning. This guide walks you through every decision point so you can move from confusion to a running, production-ready cluster.
Key Takeaways
| Point | Details |
|---|---|
| Choose setup path wisely | Managed clusters are fast and low-maintenance; self-managed clusters allow for custom control and compliance. |
| Prepare for high availability | Production-ready clusters require at least three control plane nodes across different zones and HA etcd. |
| Follow security best practices | Pin all Kubernetes component versions, use RBAC and NetworkPolicies, and configure resource limits for each workload. |
| Optimize and monitor continuously | Regularly measure performance, right-size workloads, and scale clusters efficiently to reduce costs. |
Understanding Kubernetes setup options
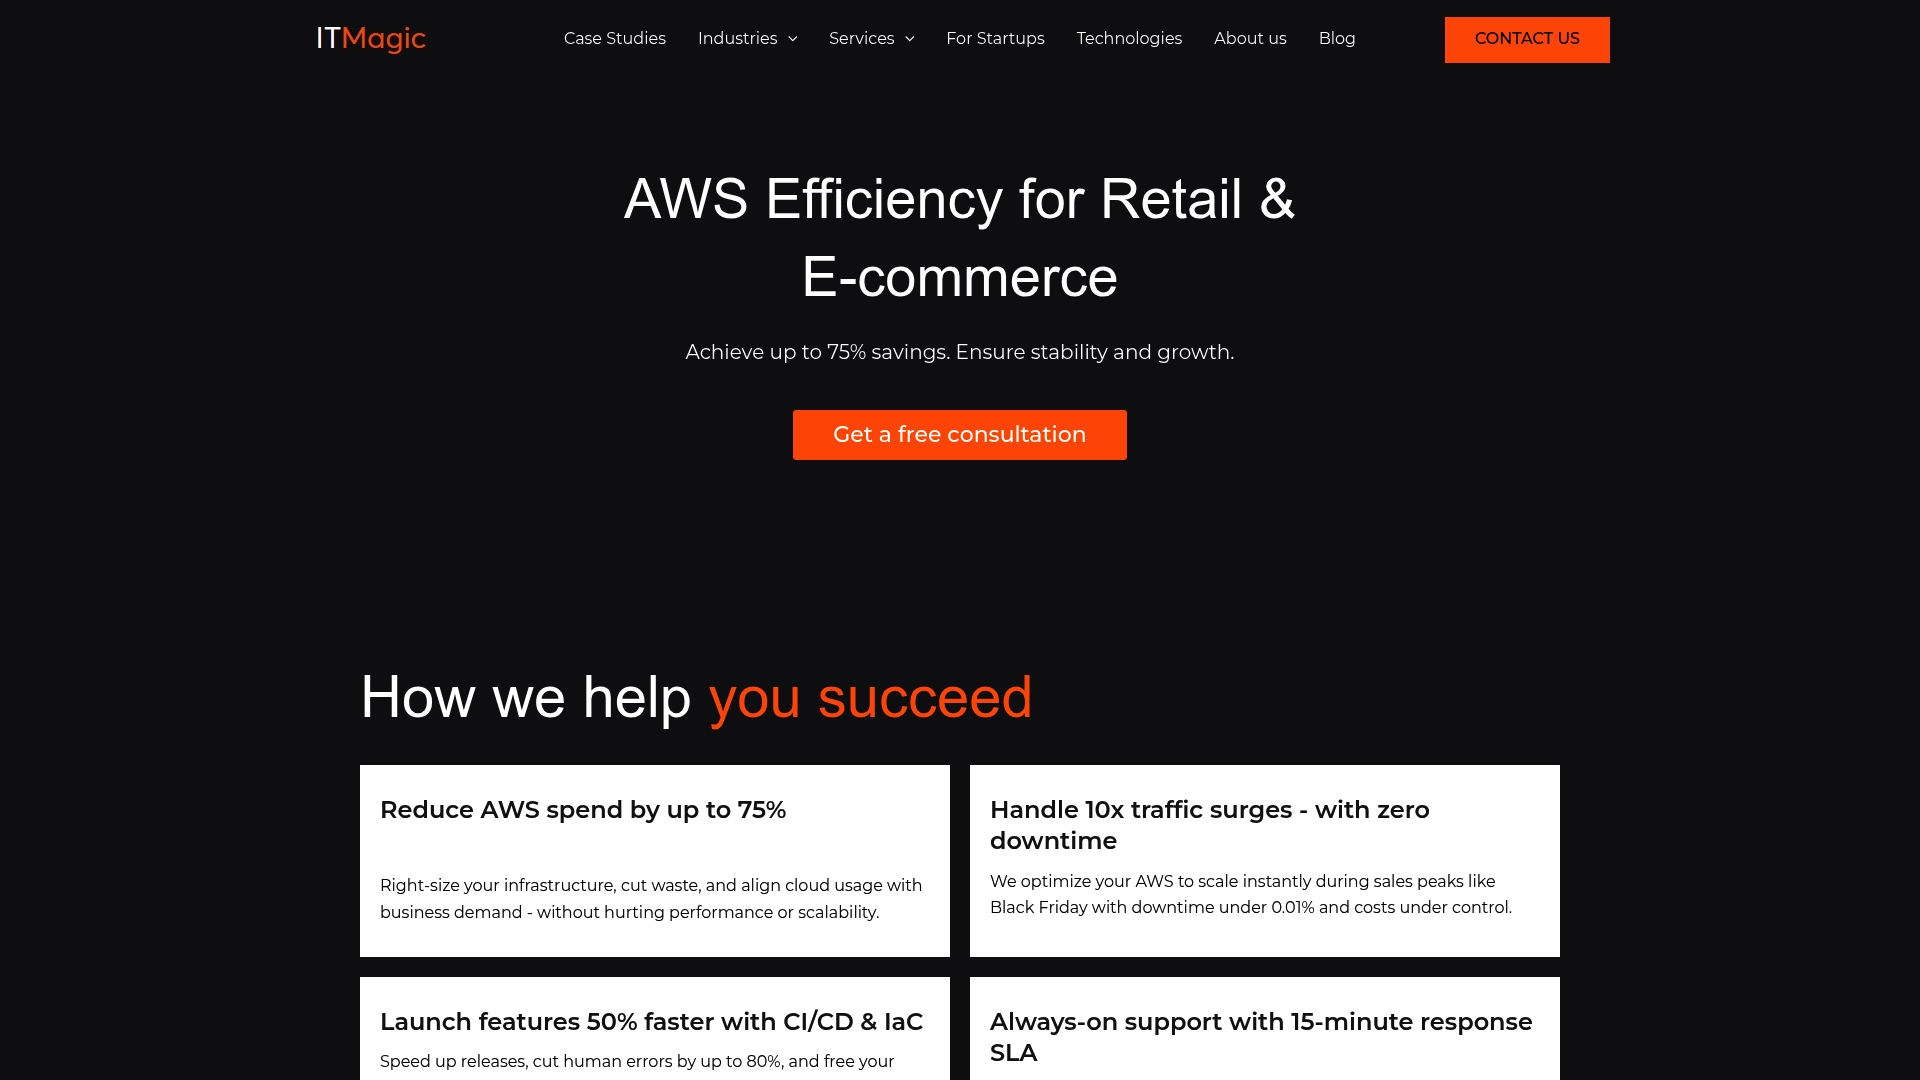
Running this on your own AWS setup? IT-Magic is an AWS Advanced Tier Partner — we audit, fix, or fully manage it for you.
Get a free consultationBefore you write a single command, you need to pick your path. The two main approaches are managed Kubernetes and self-managed Kubernetes, and the difference between them shapes everything from your team’s workload to your monthly bill.
Managed Kubernetes (Google GKE, AWS EKS, Azure AKS) means the cloud provider handles the control plane, upgrades, and availability. You focus on your workloads. Self-managed means you own the full stack, from the control plane to etcd backups, typically using tools like kubeadm or kops on your own Linux hosts.
The managed vs. self-managed tradeoff comes down to this: managed reduces operational burden and provides SLAs but adds control plane fees, while self-managed gives you full control and lower platform costs but demands significant personnel overhead. For most teams, that personnel cost is the hidden killer.
| Factor | Managed (GKE/EKS/AKS) | Self-managed (kubeadm/kops) |
|---|---|---|
| Setup time | 10 to 30 minutes | 2 to 8 hours |
| Team skill required | Moderate | High (Linux, networking, etcd) |
| Control plane cost | ~$73/mo (EKS/GKE); AKS free | Infrastructure cost only |
| Operational overhead | Low | High |
| Compliance/control | Limited customization | Full control |
| Autoscaling | Native, easy | Manual configuration |
Choose managed Kubernetes if you:
- Are a startup prioritizing speed to market
- Lack a dedicated platform engineering team
- Need built-in SLAs and automatic upgrades
- Are already invested in AWS, GCP, or Azure
Choose self-managed Kubernetes if you:
- Have strict data residency or compliance requirements
- Need custom networking or kernel-level configurations
- Have a mature DevOps team with deep Linux expertise
- Want to avoid per-cluster platform fees at scale
For a broader look at how cloud providers compare, see our AWS competitors compared analysis. You can also explore managed Kubernetes solutions tailored to specific industries. With your approach selected, the next step is making sure your environment is ready before you touch a single config file.
Pre-requisites: What you need for a solid foundation
Skipping preparation is the fastest way to a broken cluster. Whether you’re going managed or self-managed, there are non-negotiable requirements you need to satisfy first.
Kubeadm requires at least 2GB RAM per machine, while managed services handle control plane high availability automatically. Here’s a quick reference for both paths:

| Requirement | Self-managed (kubeadm) | Managed (EKS/GKE/AKS) |
|---|---|---|
| Min RAM per node | 2GB (4GB+ recommended) | Defined by node pool type |
| CPU | 2+ cores | Defined by instance type |
| OS | Ubuntu 20.04/22.04, RHEL 8/9 | Managed by provider |
| Container runtime | containerd or CRI-O | Included |
| Network plugin | Calico, Flannel, Cilium | Included or selectable |
| Cloud account/IAM | N/A | Required with correct permissions |
For self-managed clusters, your preparation checklist should include:
- Disable swap on all nodes (“swapoff -a
and update/etc/fstab`) - Install containerd or CRI-O as your container runtime
- Enable required kernel modules (
overlay,br_netfilter) - Configure cgroup v2 if using newer Linux kernels
- Open required ports (6443 for API server, 2379-2380 for etcd, 10250 for kubelet)
- Install kubeadm, kubelet, and kubectl at matching versions
For cloud-managed clusters, prepare your environment by:
- Creating a dedicated VPC with properly sized subnets
- Configuring IAM roles and service accounts with least-privilege access
- Setting up a production environment with separate node groups for system and workload pods
- Enabling VPC flow logs for network visibility
Pro Tip: Size your subnets generously before cluster creation. Kubernetes assigns an IP address to every pod, and running out of subnet IPs mid-scaling event is a painful, avoidable outage. For high availability Kubernetes, plan for at least a /22 subnet per node group.
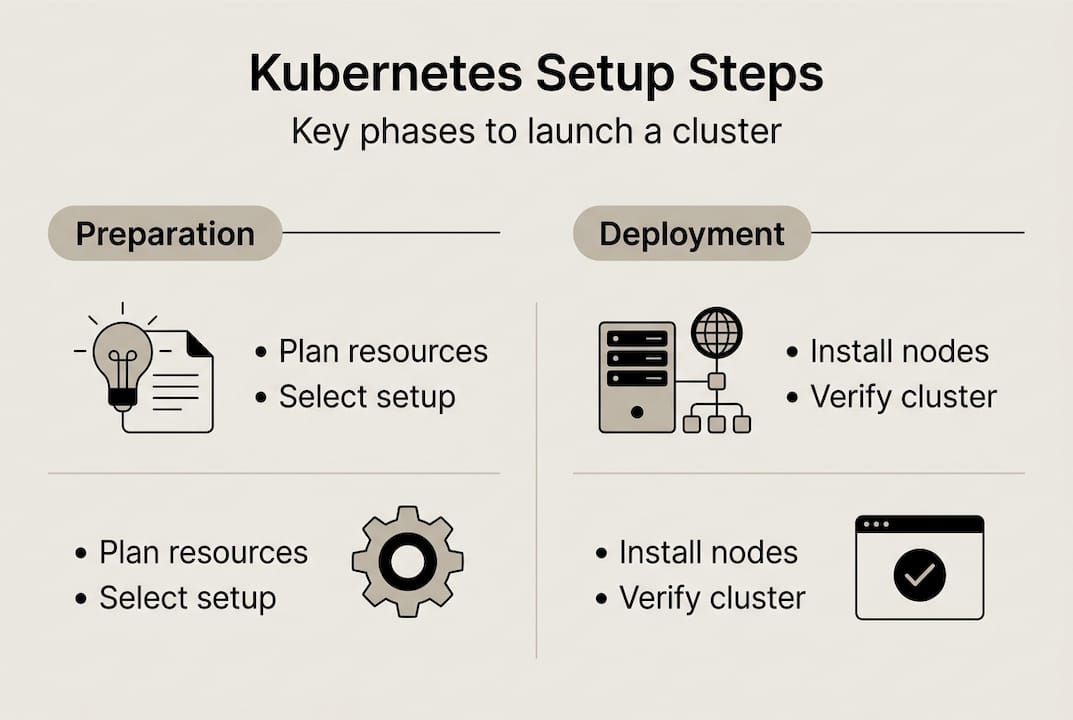
Step-by-step: Setting up your Kubernetes cluster
Now you execute. The steps differ by path, but the goal is the same: a running, accessible cluster with healthy nodes.
Managed cluster setup (EKS example):
- Create a VPC with public and private subnets across 3 availability zones
- Set up IAM roles for the EKS control plane and node groups
- Create the EKS cluster via AWS Console, CLI (
eksctl create cluster), or Terraform - Configure your kubeconfig (
aws eks update-kubeconfig --name <cluster-name>) - Add managed node groups with appropriate instance types and autoscaling limits
- Install a CNI plugin (AWS VPC CNI is default for EKS)
- Deploy the AWS Load Balancer Controller for ingress
Self-managed cluster setup (kubeadm):
- Provision your VMs (minimum 1 control plane + 2 worker nodes)
- Complete all pre-requisites on every node (swap off, runtime installed, ports open)
- Initialize the control plane:
kubeadm init --control-plane-endpoint <LB_IP> --upload-certs - Copy the kubeconfig to your local machine
- Install a CNI plugin (Calico is a solid default)
- Join worker nodes using the token output from
kubeadm init - Verify all nodes show
Readystatus
For production high availability setups, use either stacked etcd (simpler, fewer machines) or external etcd (more resilient, better for large clusters). Spread your control plane across at least 3 machines or availability zones.
Pro Tip: Always use an odd number of control plane nodes (3 or 5). etcd uses a Raft consensus algorithm, and an even number creates split-brain risk during network partitions.
Infrastructure sizing warning: Undersizing your control plane is the most common production mistake. A cluster handling hundreds of pods needs control plane nodes with at least 4 vCPUs and 8GB RAM. Skimping here causes API server latency that cascades into scheduling failures and degraded application performance. See our guide on handling high loads for real-world sizing context.
Managed clusters are typically ready in 10 to 30 minutes. Self-managed deployments, done correctly, take 2 to 8 hours. That time difference compounds over months of operations. For GKE cluster benchmarks at extreme scale, the data is striking.
Verification and initial operations
A cluster that appears to be running and one that’s actually healthy are not the same thing. Run these checks before you deploy a single workload.
- Run
kubectl get nodesand confirm all nodes showReadystatus - Check system pods:
kubectl get pods -n kube-system— all should beRunning - Verify the API server endpoint is reachable from your CI/CD pipeline
- Test DNS resolution inside the cluster with a debug pod
- Confirm your load balancer or ingress controller is accessible externally
- Validate RBAC by testing a service account with limited permissions
- Run a test deployment and confirm pods schedule and reach
Runningstate
The scale potential here is real. GKE scales to 65,000 nodes with pod creation rates of 500 to 1,000 pods per second. CERN reduced cluster deployment from hours to minutes using managed Kubernetes. Your initial verification sets the baseline for that kind of performance.
The most common places teams get stuck: CNI plugin misconfiguration (pods can’t communicate), missing IAM permissions (nodes can’t join the cluster), and incorrect kubeconfig context (commands hitting the wrong cluster). Each of these has a clear fix once you know what to look for.
For teams managing cost alongside reliability, our guide on reducing AWS costs with Spot Instances pairs well with a verified, stable cluster. Once your cluster passes these checks, you’re ready to harden it for production.
Critical best practices for Kubernetes clusters
A running cluster is not a production-ready cluster. These practices separate teams that operate Kubernetes reliably from those that fight fires every week.
Core production best practices:
- Disable swap on all nodes and keep it disabled across reboots
- Pin kubeadm, kubelet, and kubectl to the same version to avoid drift
- Set resource
requestsandlimitson every container — without them, a single noisy pod can starve your entire node - Apply RBAC policies with least-privilege principles; no workload should have cluster-admin access
- Use NetworkPolicies to restrict pod-to-pod traffic by default
- Configure liveness and readiness probes on every deployment
- Implement PodDisruptionBudgets to protect availability during node maintenance
These Kubernetes production best practices apply whether you’re running 10 pods or 10,000.
Pro Tip: Multi-stage Docker builds can shrink your container image size by up to 95%. Smaller images mean faster pod startup, lower registry storage costs, and a dramatically reduced attack surface. This single change has measurable impact on both performance and your AWS cost optimization goals.
For compliance-sensitive environments, add image scanning to your CI pipeline, enforce pod security admission policies, and audit your RBAC bindings quarterly. Our INTERTOP case study shows how applying these practices drove significant cost reduction in a real production environment. Pair these with EC2 Spot guidance for workloads that tolerate interruption, and you have a genuinely cost-efficient stack.
For the full kubeadm install best practices, the official documentation is the authoritative reference.
Measuring success and optimizing for scale
Once your cluster is running and hardened, the work shifts from setup to optimization. This is where IT leaders create real business value.
Key metrics to monitor continuously:
- CPU and memory utilization per node and per namespace
- Pod scheduling latency (time from pod creation to
Runningstate) - Horizontal Pod Autoscaler (HPA) and Cluster Autoscaler event logs
- API server request latency and error rates
- Network egress costs (often overlooked and surprisingly large)
- Persistent volume utilization and IOPS
Right-sizing workloads consistently delivers 20 to 30% resource and cost reductions for SaaS teams. In one EKS case, right-sizing combined with Spot Instances produced a 40% cost cut alongside a 95% throughput gain. Those numbers are achievable, but only if you’re measuring.
The most common optimization pitfalls: over-provisioning node pools out of fear, ignoring failed or evicted pods that silently waste resources, and not accounting for cross-zone network egress in your cloud budget. Each of these is fixable with the right monitoring setup.
When you’re ready to expand, the signals are clear: autoscaler is consistently at its ceiling, scheduling latency is climbing, or your cost-per-workload ratio is drifting upward. That’s the moment to re-architect node pools, adopt cost optimization principles, or renegotiate reserved instance commitments. Our cloud scaling examples show what this looks like in practice. For a detailed breakdown of utilization optimization strategies, the comparison is worth reviewing.
Get expert Kubernetes implementation for your business
Setting up Kubernetes correctly from day one prevents months of painful rework. At IT-Magic, our certified AWS and Kubernetes specialists have delivered 700+ infrastructure projects since 2010, and we know exactly where teams get stuck and how to avoid it.
Our Kubernetes support services cover everything from initial cluster design and security hardening to ongoing operations and autoscaling configuration. Whether you’re running EKS, GKE, or a self-managed cluster, we bring the expertise to make it production-ready fast. Our AWS DevOps services integrate directly with your existing pipelines, and our AWS cost optimization practice ensures you’re not overpaying as you scale. If you’re ready to move from planning to a running, optimized cluster, let’s talk.
Frequently asked questions
Is it better to use managed or self-managed Kubernetes?
For most startups, managed Kubernetes (GKE, EKS, AKS) provides faster setup and less operational complexity, while self-managed grants more control but demands deep in-house expertise.
How much does it cost to set up a Kubernetes cluster?
Managed services average $73 per month for the control plane on EKS and GKE Standard, while AKS offers a free control plane. Self-managed clusters save on platform fees but typically cost more in skilled labor and ongoing maintenance.
What is required for high availability in a Kubernetes setup?
Production-grade clusters need at least 3 control plane nodes spread across different availability zones, external etcd for data durability, and a load balancer fronting the API server.
How long does it take to deploy a Kubernetes cluster?
Managed clusters are ready in 10 to 30 minutes. Self-managed deployments typically take 2 to 8 hours depending on team expertise and environment complexity.
What are critical best practices for new Kubernetes clusters?
Always disable swap, use containerd or CRI-O, pin your Kubernetes version across all components, configure RBAC with least-privilege access, and set resource limits on every container from day one.
Alexander founded IT-Magic, an AWS Advanced Tier Services Partner delivering DevOps, cloud architecture, and managed services since 2010. He holds:
- AWS Certified Solutions Architect – Professional
- AWS Certified DevOps Engineer – Professional
- AWS Certified Security – Specialty
- AWS Certified Advanced Networking – Specialty
Talk to a certified AWS team trusted by INTERTOP, Foxtrot, Pandora, and J.Hilburn.
Get a free consultation